Dean Barlow shows you how to catch with the latest Drennan Carp Pole Rigs.
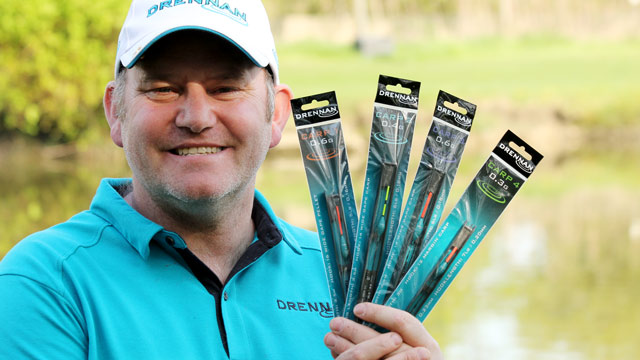
Drennan Carp Pole Rigs are purpose designed to help you catch quality fish on commercial fisheries. These hand-tied rigs are exceptionally constructed with quality components throughout. There are four styles in the range (from Carp 1 to Carp 4) to cover everything from margin fishing to open water. I’ve come to Rolfs Lake in Oxfordshire to show you how to get the most from these brilliant rigs!
Step 1 – Rig Selection
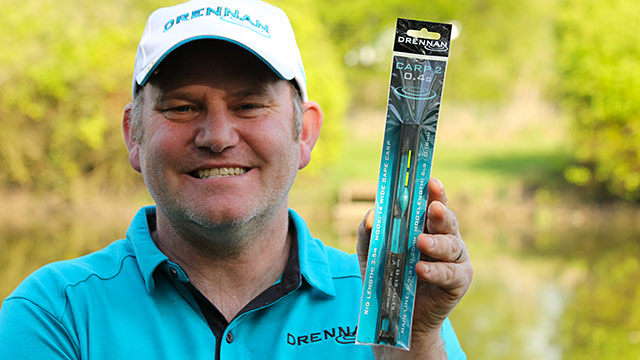
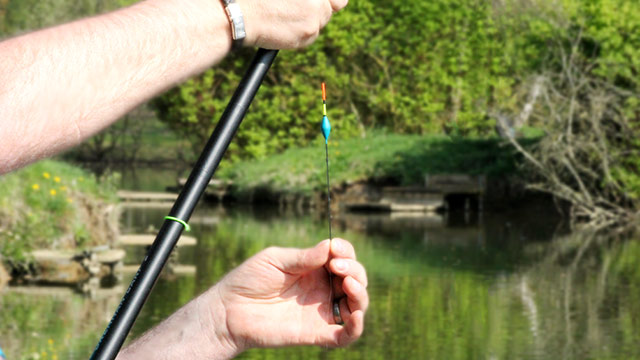
I have opted for a Carp 2 Pole Rig, which is ideal for open water and depths of around 4ft and greater. It features a Carp 2 pole float, which is quite a long design with a diamond-shaped body that offers lots of stability. It also features a sensible diameter, hollow, banded tip that shows up bites extremely well.
The fish should be active and feeding well today, so fishing between five and seven metres out will be perfect. I expect the depth is around 6ft (2m) in front of me and with little wind forecast I have opted for a 0.4g rig. You tend to get more bites with a lighter float. However, if it was windier or the peg was deeper then I wouldn’t hesitate to step up to a larger 0.6g or 0.8g version.
I am targeting big carp from 6lb to 10lb+, so I want a strong and reliable rig. The Carp 2 Pole Rig is tied to 0.20mm (6.9lb) main line. Below this is a 15cm hooklength of 0.18mm (6lb) tied to a size 14 Wide Gape Carp hook. This is strong and robust gear and man enough for the fish I’m hoping to catch!
Step 2 – Rig Features
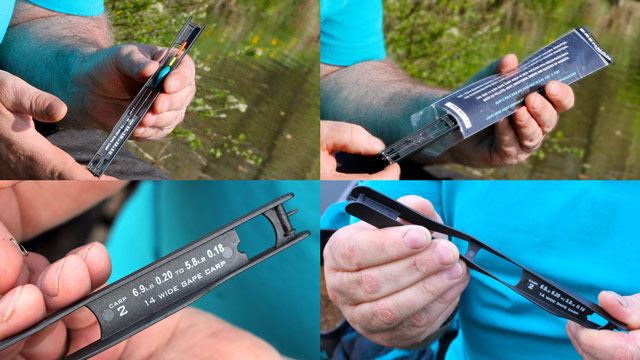
I’ve read the extra information on the back and slipped the pole rig out of its protective packaging. All of the rig’s details are conveniently printed on the pole winder for easy reference. It’s also worth noting that the pole winder itself is made from a super tough material, rather than brittle plastic like most other winders.
Step 3 – Remove the Pole Winder Anchor
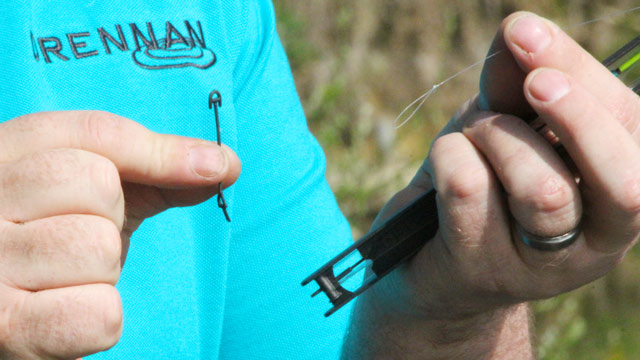
The rig is attached to the winder by a Soft Stretch Anchor. Remove this and place it to one side. After the session, you can reuse the anchor to help you put the pole rig back on its winder. Yes, you can use a Carp Pole Rig more than once!
Step 4 – Attach The Rig
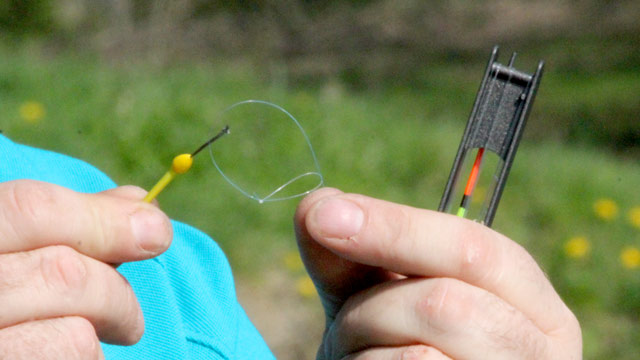
Attach the rig to your pole’s top kit via your chosen pole elastic connector. I prefer to use a neat Drennan Dacron Connector tied to the end of his elastic. Alternatively, you might choose to use a Bungee Connector or similar connection method.
To attach the rig to a Dacron Connector, simply pull the main line through the loop to create a sliding lasso. This can then be tightened down over the end of the connector and should securely hold the rig in place.
- TOP TIP: This video explains the use of Dacron Connectors in greater detail.
Step 5 – Check The Rig
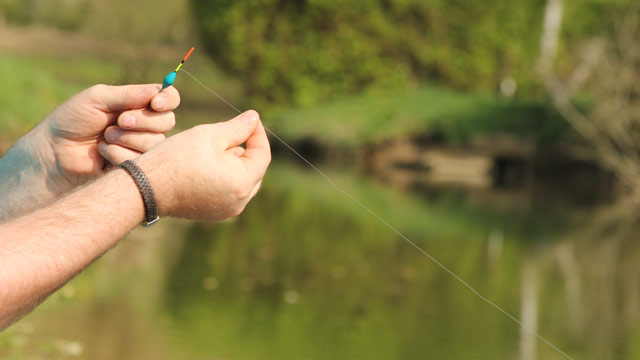
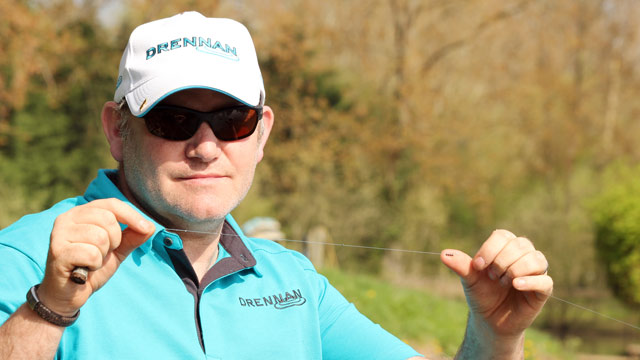
With the rig now attached and unravelled you can double-check everything is ok. Carp Pole Rigs are expertly tied by hand in Drennan’s own factories to exacting standards, but it is still good practice to check it hasn’t been accidentally damaged in any way.
Whenever you store a rig on a pole winder there will always be a small amount of kinking in the line. This is can easily be straightened out by carefully sliding the line between two moistened fingertips.
Step 6 – Attach A Plummet
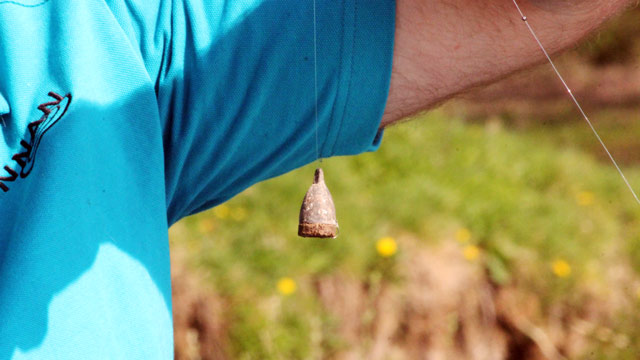
Plumbing the depth is essential to get the most out of your session. It allows you to discover the exact depth and also locate any underwater features, such as shelves and plateaus. A standard cork or foam-based plummet of around 20g to 30g should be ideal for the job.
Step 7 – Plumbing The Depth
With the plummet attached, ship the pole out to your chosen spot and lower it down to the bottom. You should be able to feel the plummet hit the bottom and tell if the float is under or overdepth. Don’t forget to search around the immediate area by lowering the plummet in different spots, slightly to the left and right as well as slightly further out and closer in. This will also help to ensure there aren’t any hidden obstacles or snags in the peg.
- TOP TIP: Although not always possible, try to find a fairly flat and even bottom to fish over. This should be much more comfortable than fishing on a slope.
Step 8 – Adjusting The Depth
The float was set approximately 12 inches (30cm) too deep, so carefully slide the float down this amount, making sure not to accidentally kink the rig.
- TOP TIP: Try to wet the float before sliding it up or down the line to reduce friction.
Step 9 – Fine Tuning The Depth
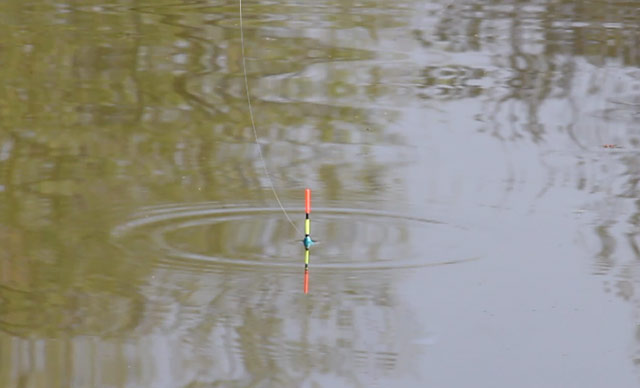
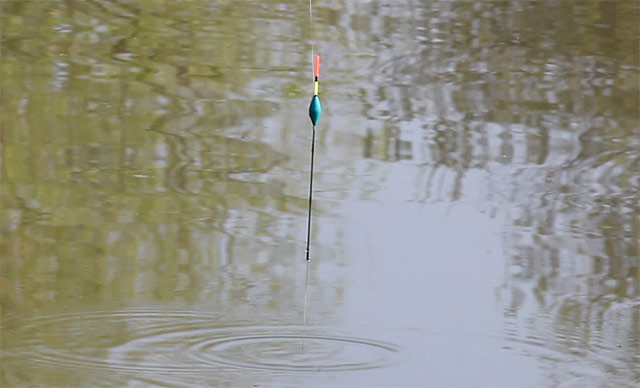
After a bit of fine tuning, I am now happy with the depth I have set the rig. Pole fishing allows you to accurately present a hook bait on or off the bottom extremely accurately, but a good starting depth is with the hook bait just touching the bottom.
A good rule of thumb is to set the depth so that the full float tip and a fraction of the pole float’s body is showing above the water. This helps to ensure your hook bait will be approximately two inches (5cm) on the bottom. This amount allows you to spot and react to bites quickly. It also ensures your hook bait is always on the bottom, despite any unevenness, and compensates for any movement caused by wind and turbulence.
Remember, this is only the starting depth and can be easily adjusted. If it is very windy, for instance, increasing the depth of the rig can help keep the hook bait stay in position. This could be as much as 12 inches (30cm) overdepth if necessary.
- TOP TIP: After plumbing up, mark the depth on the side of your top kit with correcting fluid or a wax crayon. This gives you a useful reference point to revert back to should you wish to try deeper or shallower.
Step 10 – Trimming The Rig
With the depth now set, it’s time to trim the rig so it is a more manageable length. The Carp 2 Pole Rig is tied on 3.5m of line. This gives you enough line to comfortably cope with swim depths of up to 10ft (3m). If your swim is shallower than this, we recommend shortening the length of line above the float. If you have too much line above the float the wind can catch it easier, which will drag the float off course and affect presentation.
Step 11 – Ready & Set

The actual amount of line you have from pole tip to pole float can vary according to the conditions, but around 18 inches (45cm) is a good starting distance. On windy days you may want to increase this to as much as 3ft (1m). On very calm days you could try going even shorter to help you hit fast bites.
- TOP TIP: Always be mindful of changing weather conditions. It is better to start with a little extra line above your float to begin with.
Tip 12 – Check The Shot
The Carp 2 Pole Rig has a versatile shotting pattern consisting of a bulk of No9 shot around 18 inches from the hook and two No9 ‘droppers’ spaced out between the bulk and the hook. This is an ideal starting arrangement, but each shot can be carefully slid up or down the line if necessary. For instance, you could try bulking all of the shot much closer to the hook for an ultra-positive setup. Alternatively, you may want to space the shot out for a slower sinking hook bait. The permutations are endless!
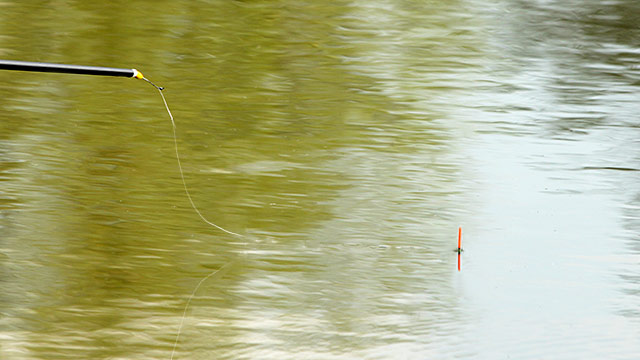
Step 13 – Checking The Tip

Before putting a hook bait on and starting to fish, spend a few extra seconds ensuring the float sits correctly in the water. Carp 2 Pole Rigs are initially shotted so that most of the tip is showing above the surface. You may want to fine tune this even further so that the rig is even more sensitive.
The surface tension of a venue can also alter depending on the conditions and this can also affect the amount of tip showing above the water. Some venues can suffer from a greasy surface film and this can also cause a float tip to sit slightly prouder of the water.
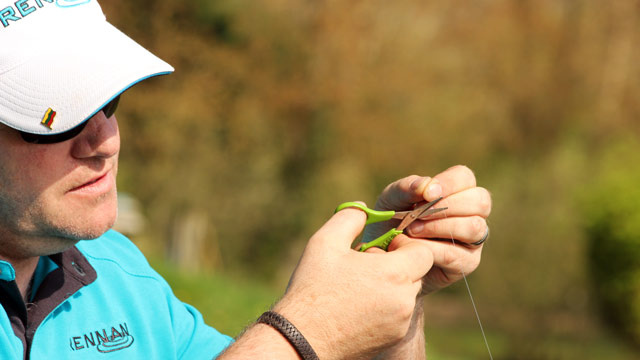
Step 14 – Trimming Shot
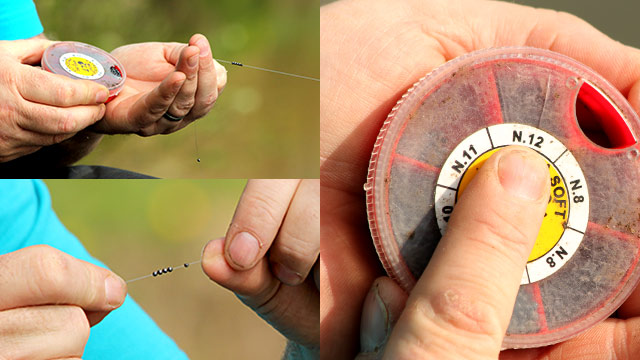
I plan to fish standard hook baits such as sweetcorn, pellets and maggots at quite close range today. As the conditions are good, I want to increase the rig’s sensitivity very slightly. I do this by adding a single No12 shot to the rig. This is carefully pinched on with shot pliers, just above the main bulk. These adjustment shot are commonly referred to as ‘trimming shot’. One or more trimming shot can help fine tune a rig so that it sits exactly how you want it on the day.
Step 15 – Ready To Fish!
With the depth now set, the rig adequately shortened and the float tip shotted perfectly, we’re ready to go!
The Session
It’s time to get some bait out and start fishing!
The Bait Menu
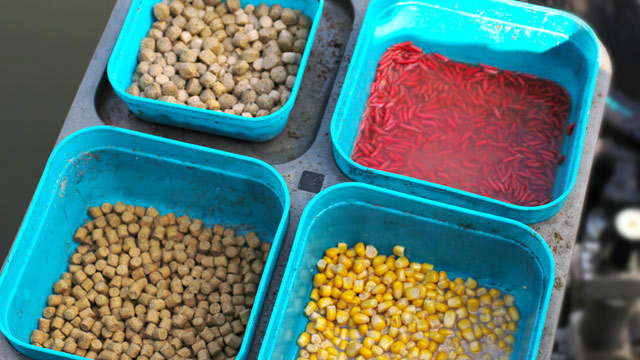
My colourful side tray has several different tubs with enough bait for a great day’s fishing.
Feed Items
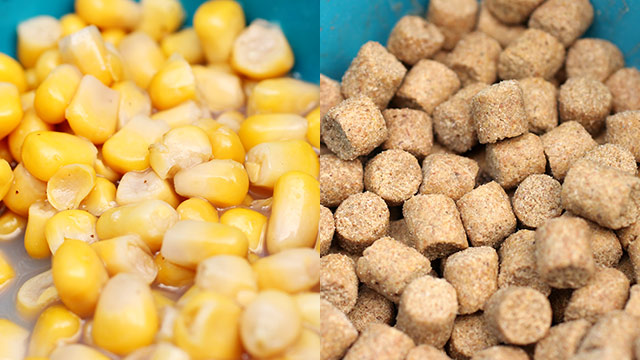
To try and keep the fish on the bottom I’ve chosen two baits for feeding; sweetcorn and hard 8mm pellets. Both of these make a nice noise on the water to help attract the fish but are also heavy enough to sink quickly to the bottom without being intercepted by smaller nuisance species on the way down.
Hook Baits
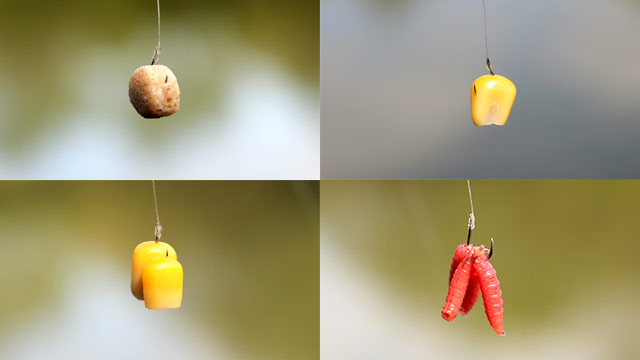
I have several options for hook baits. A soft expander hook pellet is ideal when small fish are not too much trouble. Sweetcorn is more selective if you need to single out better fish. Double sweetcorn is even more selective. A bunch of dead red maggots makes a contrasting hook bait which is soft yet stays on the hook very well.
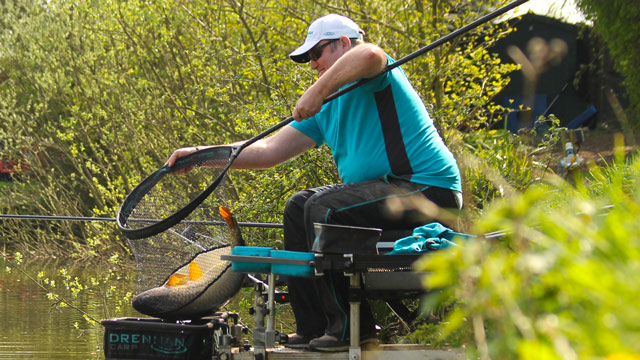
Early Action!
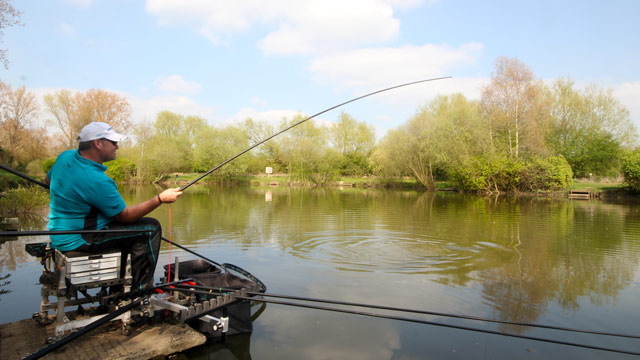
Little and often is always the best motto if you are unsure how to feed on the day. I am fishing just six or seven metres out today, which is a distance I can conveniently throw by hand. I kick off by throwing just eight pellets and the same amount of corn around the float. I will then repeat this every couple of minutes until I start to catch.
By feeding small amounts at the start you stand a greater chance of hooking a good fish quicker. This theory worked a treat today. Just six minutes into the session, my Carp Bungee elastic is already being stretched by an angry carp!
First Fish Of The Day
This fish came to a 6mm expander pellet and immediately after dripping in some extra feed. A great start and hopefully a sign of more action to come!
- TOP TIP: Try feeding by hand, then immediately lift the rig completely out of the water and lower it back down into the swim. This helps to mimic the loose feed and also cuts down on false bites caused by fish darting into the swim.
More Action
A few roach and skimmers have moved in, so it’s time to try sweetcorn on the hook. This quickly proved to be the winning hook bait on the day, fished over corn and 8mm pellet feed.
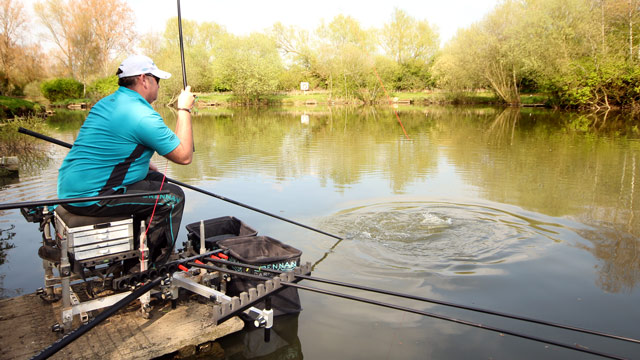
Double Trouble
I like to keep experimenting and rarely sticks to the same feeding pattern during a session. Doubling the amount of feed and a double sweetcorn hook bait lead to this quality fish.
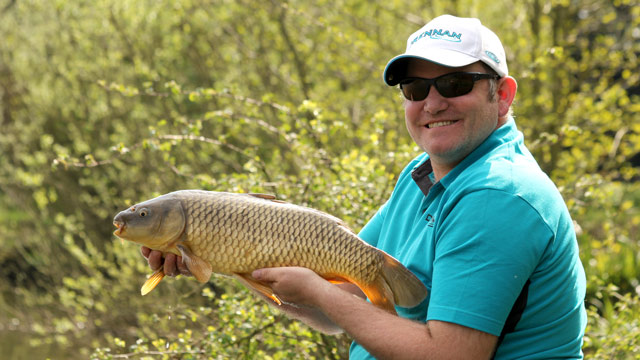
Best Fish Of The Day
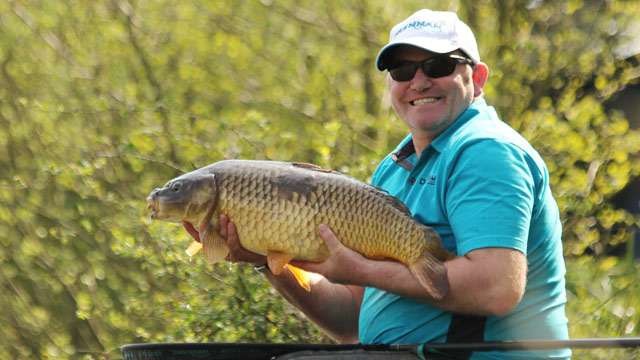
This huge common carp must be close to 18lb but posed no trouble for a Carp 2 Pole Rig!
And The Smallest Fish!
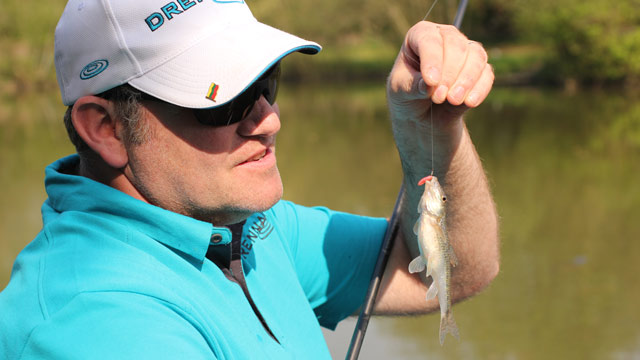
A brief try with maggots on the hook produced a real mixture of species of all sizes, topped by this ‘specimen’ gudgeon!
What A Day!
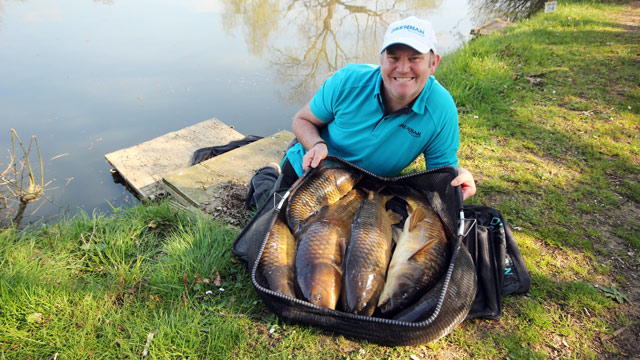
The fruits of a brilliant day at Rolfs Lake – and all caught with the excellent Drennan Carp Pole Rigs. It’s now time for you to get out there and give them a go yourself!